

The best spot for a patch on most bags is a flat, visible panel away from seams, zippers and straps: the centre front of a tote, the front pocket or upper front panel of a backpack, the side panel or end of a duffle. Placement decides how the bag looks, but it also decides how long the patch survives, because the spots people use most are the spots that rub, bend and stretch. Below you will find where to place a patch by bag type, how to check your layout before you attach anything, and which attachment method suits which fabric.
TL;DR
- Choose a flat area with room around the patch. Avoid seams, curves, zippers, buckles, the base and anything that flexes.
- Put your main patch at the centre front of a tote, on the front pocket or upper front panel of a backpack, and on a side panel or end of a duffle.
- Keep patches off straps and handles. They are friction zones, and edges wear fast there.
- Tape the patch in place, load the bag lightly, stand back and check it upright before you iron or stitch.
- Match the method to the fabric: iron-on suits some cotton and canvas, while nylon, polyester, coated and stretchy fabrics call for sewing, hook-and-loop or textile adhesive.
Table of Contents
- Where to put a patch, bag by bag
- Four rules that apply to every bag
- Size and balance
- Test the layout before you attach anything
- Match the attachment method to the fabric
- Our perspective: place for the party, not just the photo
- Want it done for you?
- FAQ
- Sources
Where to put a patch, bag by bag
There is no single correct position, because bags are built differently. The question to ask is the same each time: where is the flattest, most visible surface that nobody will sit on, grab or squeeze? Here is how that plays out for the bags we see most often.
| Bag type | Best placement | Avoid |
|---|---|---|
| Cotton tote | Centre front, or an upper corner for a smaller patch | Near the handle stitching, bottom seam |
| Backpack | Front pocket, upper front panel, or top flap | Straps, base, zipper tracks, mesh pockets |
| Duffle | Side panel or end panel | Handles, shoulder strap anchor points, base |
| Pouch | Centre of the front face | The zipper edge and corners that fold |
| Messenger or laptop bag | Front flap | Where the flap folds over the buckle |
| Leather bag | One or two focal patches on a flat panel | Crowding, glue, hot irons |
Totes and pouches
A tote is the easiest bag to place on: one big flat face. A single patch at the centre front looks intentional and balanced. If you want a quieter look, move a smaller patch to the upper corner on the side away from the handle you will carry it by. Leave generous space between the patch and the stitched handle reinforcements, because those are the thickest and most stressed parts of the bag.
On a small pouch, centre the patch on the front face and keep it well away from the zipper. A patch that sits against the zipper teeth catches, lifts and eventually frays. If the pouch is going into a loot bag, a name patch centred on the front reads clearly from across a table.
Backpacks
The front pocket or upper front panel is the classic location. It is visible when the bag is worn, and the surface is usually flat enough that the patch does not buckle. A top flap is a smaller, safe option for a compact patch. Side pockets can carry a secondary patch, but check that the pocket still opens and stretches when something is inside it.
Avoid the shoulder straps, the bottom of the bag, curved panels, and stretchy mesh pockets. They bend or rub with every use, and a rigid patch on a flexing surface will peel at the edges long before the rest of the bag shows wear.
Duffle bags
Duffles are long, so a single patch can look lost. A side panel suits a larger statement patch, and the end panel works well for a name or number. For balance on a long shape, place matching patches symmetrically on both side panels, or one larger patch and one small one in line with each other. Keep patches clear of the handles and strap anchors. If you are planning a set of duffles for a team or a party, our custom duffle bag ideas walk through name and patch setups.
Messenger bags, laptop bags and leather
On a messenger or laptop bag, the front flap is the natural canvas. Check where the flap closes and keep the patch out of the fold line and away from the buckle. Leather deserves restraint: one or two focal patches on a flat panel usually look better than a collage, and stitching is the safer way to attach them. Glue and heat can leave marks you cannot undo.
Four rules that apply to every bag
1. Flat beats curved. A bag changes shape when it is full. A patch that looks perfect on an empty, flat bag can pucker once the panel curves. Place it where the surface stays relatively flat when the bag is packed.
2. Stay out of friction zones. Straps, handles, the base and any surface that touches your body or the ground take constant rubbing. Patch edges catch on clothing and lift. The same goes for seams, which add thickness underneath and make the patch sit unevenly.
3. Do not block anything that works. A patch should never stop a pocket from opening, a zipper from running or a buckle from closing. Reflective details and safety features should stay uncovered too.
4. Give it breathing room. A patch needs empty space around it to look deliberate. Crowding patches against seams, pockets or each other makes a bag look busy and also makes repairs harder later.
Size and balance
Size and position work together. A medium patch is usually the best focal point for a front pocket: big enough to read from a few steps away, small enough to leave fabric showing around it. A large patch on a small pouch overwhelms the bag, while a tiny patch on a big duffle gets lost. If you are unsure, our patch size guide explains how to choose dimensions for the surface you have.
Two practical habits help. First, cut a paper template the size of each patch and tape the templates to the bag. This is especially useful when you are arranging three or more patches, because you can move them around with no commitment. Second, step back. Look at the bag from a metre or two away and from the angle someone will actually see it. Placement that seems fine at arm’s length often looks off-centre from a distance.
Weight matters as well. Thick chenille or heavily built patches can pull on lightweight fabric, so a big heavy patch on a thin pouch or a light tote may sag. If the fabric is thin, go smaller or choose a lighter patch. For more on how thick patches behave over time, see our guide to chenille patch durability.
Names and patches together
If the bag carries a name as well as a patch, decide which one leads. For a bag that might get lost or mixed up at an event, the name is functional and belongs somewhere obvious, such as the top handle area or inside. We cover that in detail in our piece on name placement on bags. The decorative patch then takes the front panel, and the two do not compete.
Test the layout before you attach anything
This step takes five minutes and saves most regrets.
- Clean and smooth the surface. Wipe the bag and remove wrinkles so you are judging the real position.
- Fix the patch temporarily. Use low-tack tape, clips or a safety pin. Avoid anything that leaves residue or punctures fabric you do not intend to stitch.
- Put something in the bag. A lightly packed bag shows you how the panel curves. Hold it upright, then set it on a table and hang it as it would be carried.
- Check alignment and spacing. Look for a straight line against a seam or pocket edge, and even space on each side.
- Test everything nearby. Open the pocket, run the zipper, close the buckle, and see whether a strap clears the patch.
- Look at the inside. Heat or stitching can show through a thin lining, and a bulky backing can make the inside uncomfortable. Slide a piece of cardboard inside the bag while you work so you do not iron or sew through to the other side.
- Attach, cool, then tug. Once the patch is attached and has cooled completely, give it a gentle tug at each edge. If a corner lifts, fix it now, not after the first outing.
Match the attachment method to the fabric
A perfect position still fails if the patch is attached the wrong way. Fabric decides the method more than preference does.
Cotton and canvas
These tolerate heat, so iron-on is a realistic option. One Canadian guide to patch application suggests a medium iron at 140 to 150°C, a thin protective cloth and moderate pressure, then turning the item over and ironing the reverse, cooling it for a minute and repeating if an edge lifts. Always follow the instructions that come with your patch, since adhesives differ. Our write-up on the best materials for patches goes further into heat, pressure and fabric pairings.
Nylon, polyester and technical fabrics
The same guide advises against iron-on for polyester, nylon, spandex, structured gear, mesh, coated, stretchy or rough fabrics, and points to sewing, Velcro or textile adhesive instead. There is a reason beyond adhesion: Innovation, Science and Economic Development Canada’s care guide lists low-temperature ironing, not above 110°C, for nylon and several other synthetics, and notes that some textiles should not be ironed at all. That is well below the heat most iron-on adhesives need, so nylon bags are best stitched. Different fibres also behave differently over time, which is why the Canadian Conservation Institute stresses that nylon and polyester have different characteristics and need different care.
If you do not want needle holes in the bag, hook-and-loop works well: sew the hook tape to the bag, attach the loop tape to the patch, and the patch becomes swappable. That is the idea behind several of the setups in our patch ideas for bags.
Leather, coated fabric and waxed canvas
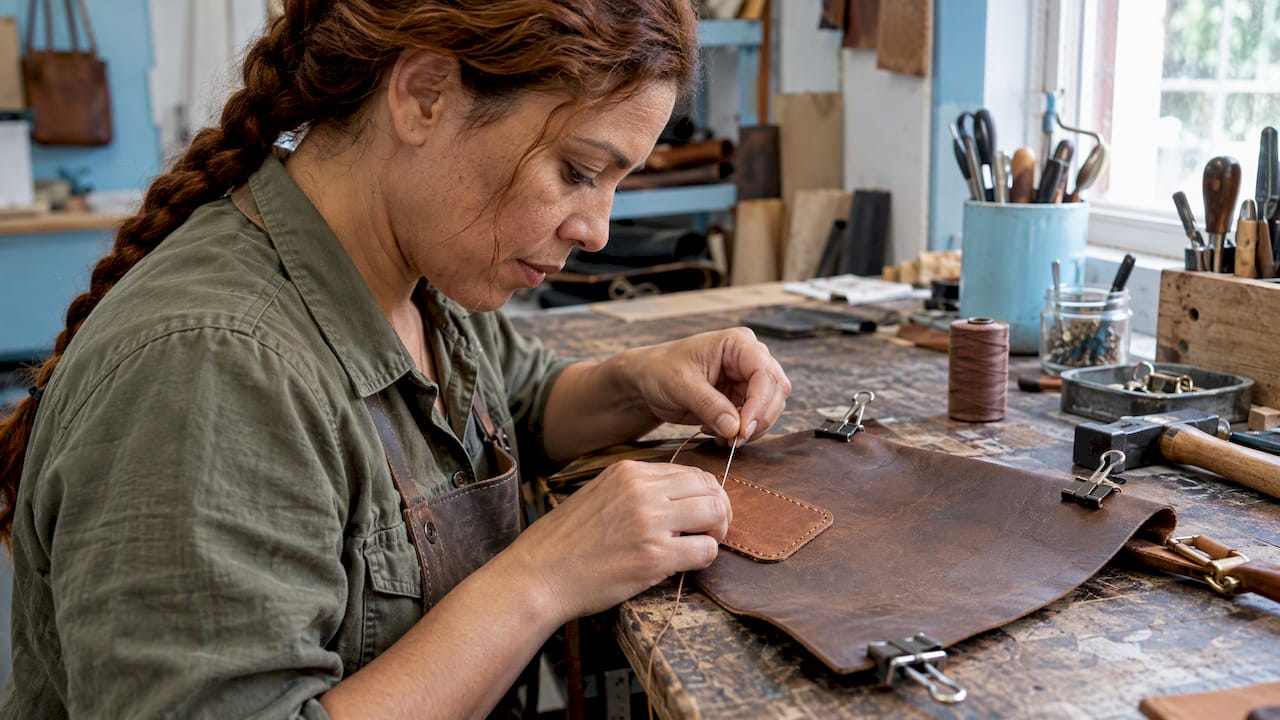
Heat can mark or melt these surfaces, and glue often will not grip a coated or waxed finish. Stitching is the dependable route. Use a needle meant for thick material, clips rather than pins so you do not leave extra holes, and a thread colour that matches either the patch or the bag. If you are unsure, test on a hidden spot such as the inside of a flap, or ask the bag’s maker.
Hard-shell and structured bags
Where the outer fabric is not bonded to a rigid shell, a blind stitch can work without piercing the shell. Where it is bonded, adhesive or hook-and-loop is often the only clean option. Test a small spot first.
Our perspective: place for the party, not just the photo
We build loot bags for birthdays, bat mitzvahs, corporate events and themed gatherings, and the bags that get used again are the ones where the patch was placed with real life in mind. A loot bag is handled by a six-year-old or a teenager, squeezed into a car, dragged along a floor. That is why we lean toward one clear, centred patch on the front rather than several scattered ones, with the name somewhere practical.
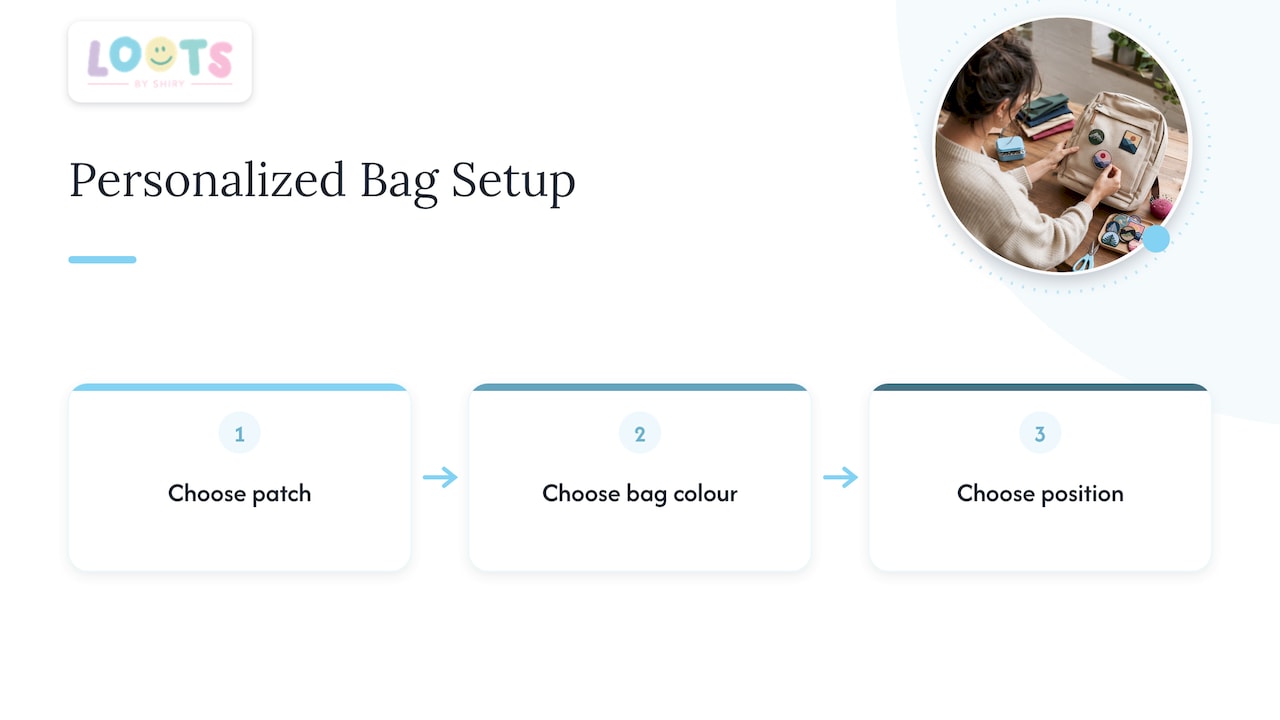
Our advice for hosts ordering a set: pick one placement and repeat it on every bag. Consistency makes a stack of 20 or 30 bags look designed, and it removes guesswork for the person packing them. Choose the patch first, then the bag colour that makes it stand out, then the position. If you are torn between two spots, choose the flatter one.
We also think the customer’s input should drive the layout. The point of a personalized bag is that it feels like it belongs to one person, so the name, colours and patch should say something about them, and the placement should show it off rather than hide it.
— Shiry
Want it done for you?
If you would rather not stitch or press anything, you can order a bag that arrives personalized. We offer loot bags with names, patches and colour choices, with optional wrapping at $0.50 per bag and delivery at $10. In the shop you will also find cotton tote bags and pastel pouches at $12.00 each, and colour changing tumblers at $10.00, all ready to personalize. Planning a bigger set? Our guide to what custom gift bags with names cost per unit helps you budget.
FAQ
What is the best place to put a patch on a backpack?
The front pocket or the upper front panel is the safest choice, since it is flat, visible and out of the way of wear. A top flap works for a smaller patch, and side panels suit a second, matching patch. Stay away from straps, the base, zippers and mesh pockets.
Do iron-on patches stick to nylon?
Usually not well, and heat can damage the fabric. Canada’s textile care guidance lists low-temperature ironing for nylon, not above 110°C, which is cooler than most iron-on adhesives need. Sew the patch on, or use hook-and-loop, instead.
What works best for patches on leather bags?
Stitching, done carefully with a suitable needle and matching thread. Heat and glue can mark leather and often fail on coated surfaces. Keep to one or two patches on a flat panel so the leather stays the star.
How do I know where a patch will look balanced?
Tape the patch or a paper template in place, load the bag lightly and view it upright from a metre or two away. Check the spacing on every side and make sure pockets, zippers and buckles still work. Adjust until it looks right from the angle people will see it.
Can I place patches on both sides of a duffle?
Yes. Matching patches on both side panels give a long bag a balanced look. Keep them level with each other and clear of the handles and strap anchors.
Sources
- Patch Application guidance, BC Parks Foundation
- Guide to Apparel and Textile Care Symbols, Innovation, Science and Economic Development Canada
- Basic care of textiles, Canadian Conservation Institute