
For small premium runs or a permanent chest logo, direct embroidery wins. For large multi-garment programs, seasonal rebrands, or badges that need to move between jackets, hats, and bags, patches usually win instead. Embroidery gives you a stitched-in, integrated finish that reads as high-end but locks that design onto one garment forever. Patches cost more per unit upfront but scale better across a mixed order, hold fine detail that thread can’t reproduce, and let you reuse the exact same design on a hoodie today and a tote bag next season.
There’s a third option too: stitching embroidery directly onto a patch that’s already been applied, which is common for programs that want a badge’s flexibility with an embroidered accent on top. We’ll walk through exactly how that works further down.
Key Takeaways
Direct embroidery suits single-garment, permanent designs, while patches win on cost and flexibility once an order spans multiple blanks or crosses roughly 100 to 250 units.
| Point | Details |
|---|---|
| Match method to order size | Choose embroidery under roughly 100 units on one garment type; choose patches above that threshold. |
| Detail needs decide material | Pick woven or PVC patches for text under 4mm; embroidery requires larger lettering to maintain legibility. |
| Sew-on beats iron-on for longevity | Add edge stitching to iron-on patches on any garment that sees daily or heavy use. |
| Embroidering over patches is possible | Use compatible patch material, a water-soluble stabilizer, and a properly sized needle, and test on scrap first. |
| LootsByShiry simplifies the choice | Customizable loot bags let you select patches, names, and colours directly at checkout without separate supplier quotes. |
Table of Contents
- Patches vs embroidery: a side-by-side comparison
- Why choose patches: strengths, limits, and common types
- Why choose direct embroidery: strengths and technical limits
- Which patch material fits your project?
- How much does each method cost as orders scale?
- Durability, washing, and care for patches vs embroidery
- What design and text limits should you plan for?
- Sew-on, iron-on, or hook-and-loop: what’s the difference?
- Can you embroider over an iron-on patch?
- How to choose: a quick decision checklist
- One-minute pick: what to choose right now
- Event merch and party favours: what actually works
- How LootsByShiry handles patches and embroidery for you
- Sources
- FAQ
Patches vs embroidery: a side-by-side comparison
Here’s how the two methods stack up across the dimensions that actually affect your order.
| Dimension | Direct embroidery | Patches (embroidered/woven/PVC) |
|---|---|---|
| Finish / visual quality | Raised, textured, premium look | Flat or slightly raised, defined border |
| Durability / washability | Very durable, integrated into fabric | Durable if attached well; iron-on less reliable long term |
| Cost (small run) | Higher setup cost per design | Higher per-unit cost at low volume |
| Cost (bulk) | Cost climbs with stitch count per piece | Cost drops sharply per unit at scale |
| Best for | Polos, jackets, permanent branding | Hats, bags, uniforms, multi-blank programs |
| Detail level | Limited by thread thickness | Can hold much finer text and line work |
| Scalability / reusability | One garment, one design, done | Same patch batch works across many blanks |
| Comfort / bulk | Minimal bulk on most fabrics | Adds some bulk and a visible edge |
| Attachment | Stitched directly, permanent | Sew-on, iron-on, or hook-and-loop |
A few things jump out once you see it laid out this way.
- Patches typically become the cheaper option once an order crosses somewhere in the range of 100 to 250 units, largely because patches produced separately from the garment tend to scale more efficiently across a multi-garment program than embroidering each piece individually.
- Reusability matters most when the same logo needs to appear on different blanks. One patch design can go on a cap, a duffle bag, and a vest without three separate digitizing files.
- Detail-heavy logos with small text almost always favour patches, since woven and PVC patches can reproduce detail down to small dimensions, while embroidery generally needs lettering above a minimum size to stay legible.
If your order sits below roughly 100 pieces and the design is going on one garment type, run the embroidery numbers first. Above that, patches start pulling ahead on cost per unit almost every time.
Why choose patches: strengths, limits, and common types
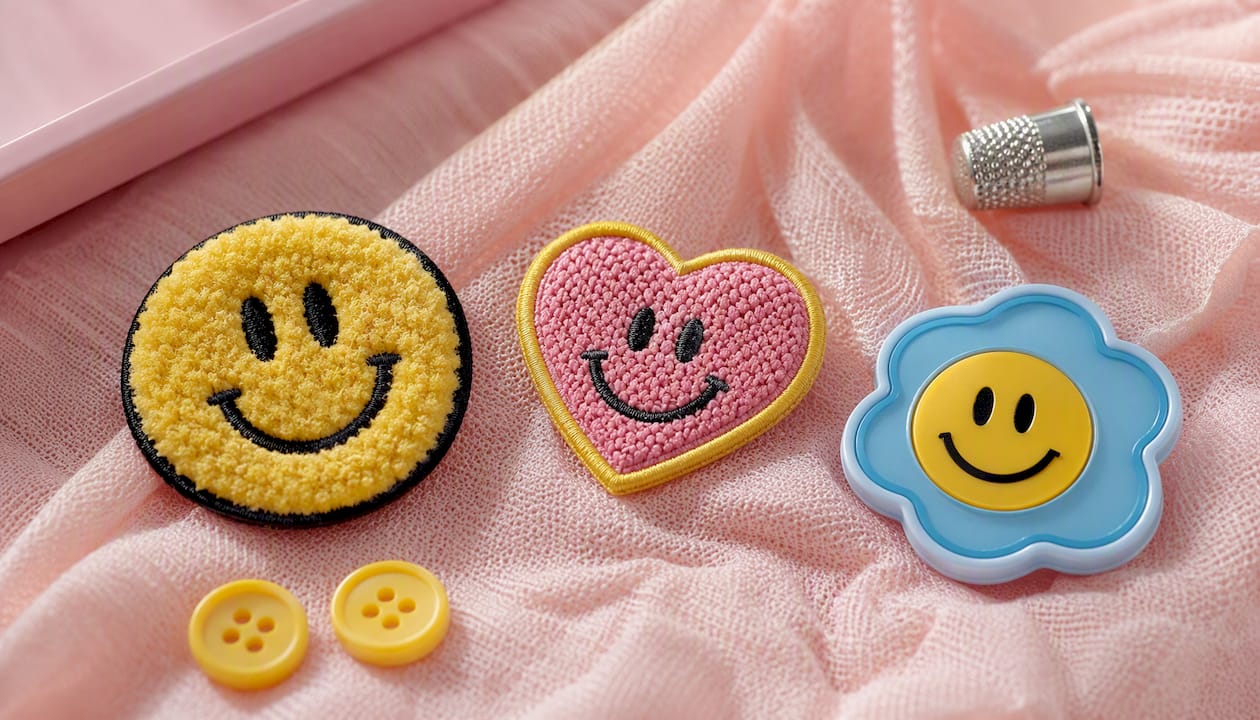
Patches earn their keep on flexibility. A single production run of patches can be applied across polos, hats, backpacks, and jackets without re-digitizing anything, which is exactly why patches can reduce operational friction and replacement cost for programs with frequent reorders or multiple garment types. They also survive being moved: hook-and-loop backing lets a badge system swap between uniforms as staff change roles.
Advantages:
- Scales cheaply once you clear the order-size threshold
- One design works across many different blanks
- Removable options exist for badge or rank systems
- Batch production means faster turnaround on reorders
Limitations:
- Adds visible bulk and a defined border compared to embroidery
- Iron-on backing can lift at the edges over time
- Minimum order quantities can be steep for small custom runs
- Lead times for the first batch run longer than a single embroidery job
The main types worth knowing: embroidered patches (thread-stitched, textured), woven patches (flatter, finer detail), PVC patches (rubber-like, weatherproof), chenille patches (fuzzy, varsity-style), and leather patches (structured, premium feel).
Pro Tip: Match the patch type to the garment’s use. Chenille looks great on a letterman jacket but is the wrong call for a gym bag that gets thrown in a locker every day.
Why choose direct embroidery: strengths and technical limits
Direct embroidery gives you a finish patches can’t fake: the design is part of the fabric, not attached to it. There’s no border, no edge to catch, no separate piece that could ever peel off. For a single premium polo order or a jacket that needs one permanent chest logo, this is usually the better call.
Advantages:
- Seamless, integrated look with no visible attachment
- Reads as more premium on structured fabrics
- Minimal added bulk, which matters on fitted or lightweight garments
Limitations and red flags:
- Permanent. There’s no swapping the design later without unpicking stitches
- Cost climbs with stitch count. Dense, colourful designs cost noticeably more than a simple logo
- Lightweight knits can pucker under heavy stitch density if the wrong stabilizer is used
Every embroidery job starts with digitizing, converting artwork into a stitch file the machine reads. Higher stitch counts mean more thread, more machine time, and more cost. Design complexity and thread bulk are common production problems: too many colours or overly fine lines on a small design cause thread build-up and fabric distortion.
Pro Tip: Ask your digitizer for a physical stitch-out sample before approving a bulk run. It’s the only way to catch puckering or thread bulk before you’ve paid for 200 shirts.
Which patch material fits your project?
Picking a patch material is a design decision as much as a style one. Each type solves a different problem.
- Embroidered patches — the classic textured look, best for logos with moderate detail and no tiny text.
- Woven patches — flatter finish, holds fine lines and small text that embroidery thread can’t manage.
- Chenille patches — thick, fuzzy texture associated with varsity jackets and retro branding.
- PVC or rubber patches — waterproof, flexible, ideal for outdoor gear, uniforms, and tactical apparel.
- Leather or faux-leather patches — structured and premium, common on caps and bag straps.
- Printed patches — full-colour photographic detail at the lowest cost, though less durable than woven or PVC.
Fine detail and tiny text point toward woven or PVC every time, since thread thickness physically limits how small embroidered lettering can go in a way that flat woven thread or moulded PVC simply doesn’t face. Weather resistance points to PVC. A vintage, collegiate look points to chenille. Premium minimalism points to leather.
Pro Tip: Thick patches like chenille or leather insulate heat during iron-on application, so a standard press time can leave the adhesive under-set. Test on a scrap first and expect to hold the iron longer than you would for a thin woven patch.
How much does each method cost as orders scale?
Embroidery cost is driven mostly by stitch count, digitizing fees, and per-item machine time. A simple three-colour logo with a low stitch count is cheap per unit no matter the order size, but that per-unit price barely drops as volume increases, because each shirt still needs its own full run through the machine.
Patches work the opposite way. The first batch carries setup cost, but once that batch exists, attaching it (sewing or pressing) is fast and cheap, and the per-unit patch cost falls sharply as the batch grows.
| Order size | Direct embroidery (per unit) | Patches (per unit) |
|---|---|---|
| Small run (under 50) | Lower relative cost, no batch minimum | Higher relative cost, MOQ may apply |
| Mid run (100–250) | Cost holds steady per piece | Cost per unit drops meaningfully |
| Large run (250+) | Cost still tied to per-piece stitching | Cost per unit lowest of the three tiers |
A simple break-even check:
- Get your embroidery quote per piece (includes digitizing amortized across the run).
- Get your patch quote per piece at your target quantity, plus attachment labour.
- Multiply each by your order size and compare totals.
- If patches come out cheaper once you hit somewhere around the 100 to 250 unit mark, that’s your signal to switch methods.
Typical lead times run one to two weeks for embroidery on an existing setup, and two to four weeks for a first patch batch, since patches require their own production run before attachment even begins. MOQs for embroidery are often as low as one piece; patch MOQs commonly start in the 50 to 100 range depending on the manufacturer.
Durability, washing, and care for patches vs embroidery
Direct embroidery holds up well to repeated washing since the thread is locked into the garment fibre itself. Sew-on patches come close, provided the stitching is dense enough at the edges. Iron-on patches are the weak link: a properly applied iron-on patches can withstand many washes but are generally less reliable long-term than sewn patches, especially on garments that go through a dryer regularly.
The most common failure modes are edge lift on iron-on patches, thread abrasion on embroidery that rubs against straps or seatbelts, and colour fade from harsh detergents or high heat.
- Wash patched and embroidered garments inside out on a cold or warm cycle, never hot.
- Skip the dryer’s high-heat setting for iron-on patches specifically. Heat is what loosens the adhesive over time.
- Add a line of edge stitching around an iron-on patch if the garment sees heavy daily use.
Pro Tip: A sewn edge is genuinely the gold standard for heavy-use garments, even on a patch that started as iron-on. Budget the extra few minutes of stitching time; it’s cheaper than replacing the whole garment.
What design and text limits should you plan for?
Thread thickness sets a hard floor on how small text can go. Embroidered patches generally need lettering around 4mm minimum to stay readable, while woven and PVC patches can hold detail closer to 2mm because they don’t rely on stitched thread for fine lines.
Placement matters just as much as size. Seams, zippers, and stretchy knit fabric all make a garment harder to hoop correctly for direct embroidery, and a poorly hooped design shows as visible puckering once it’s off the machine.
- Simplify tiny text before sending it to a digitizer. If it’s unreadable printed at 1 inch wide, it won’t stitch cleanly either.
- Choose high-contrast colours between thread and garment. Subtle tone-on-tone logos lose definition fast in embroidery.
- Always request a pre-production sample on the actual garment or patch backing before approving a full run.
Pro Tip: A digitizer will simplify thin lines and convert gradients into stitch-friendly runs whether you ask or not. Better to review that simplification on a proof than discover it on 300 finished shirts.
Sew-on, iron-on, or hook-and-loop: what’s the difference?
Sew-on patches are the most durable option and the right call for heavy-use garments like work jackets or backpacks that see daily wear. Iron-on patches use heat-activated adhesive and work well for lighter use, quick DIY projects, or lower-budget runs, though they trade some long-term durability for speed. Hook-and-loop (velcro) systems let a badge move between garments entirely, which is standard for tactical gear, rank insignia, and seasonal staff uniforms.
- Heavy daily wear (bags, work jackets): sew-on
- Lightweight, occasional use, or DIY projects: iron-on
- Interchangeable or removable badges: hook-and-loop
A quick safety note: always test iron-on heat settings on a hidden fabric corner first. Thick patches insulate heat during pressing, which can mean the adhesive under-sets at a standard press time, or the garment scorches if you compensate by pushing the heat too high.
Can you embroider over an iron-on patch?
Yes, but only with the right prep. Embroidering directly over an existing patch works when you choose compatible patch material, use the correct stabilizer, and select the right needle. Skip that prep and you risk the patch detaching mid-stitch, a broken needle, or a puckered, distorted result.
- Test the exact stitch pattern on a scrap piece of the same patch material first.
- Make sure the patch is fully and securely adhered before you start.
- Place a water-soluble stabilizer over the patch surface so stitches don’t sink into its texture.
- Choose a needle sized for the combined thickness of patch plus fabric.
- Run the machine slower than usual and watch the first few stitches closely.
Watch for the patch shifting under the needle, thread sinking unevenly into a textured surface like chenille, or the patch material cracking under heat and tension. If the patch is PVC or another rigid plastic, reconsider the plan entirely. Rigid patches often crack rather than flex with the needle.
Pro Tip: Keep a spare patch on hand before you start. If the first attempt goes wrong, you’ll want a second try without reordering.
How to choose: a quick decision checklist
Run through this before you commit to either method.
- How many units are in this order, and is a reorder likely?
- What garment types are involved, one or several?
- Does the design need to move between blanks later?
- Does the artwork have fine text or thin lines?
- How often will this garment go through the wash?
Questions worth asking any supplier before you order:
- What’s your minimum order quantity for patches versus embroidery?
- What’s the lead time for a first batch versus a reorder?
- Can I see a physical sample before committing to the full run?
- What adhesive or backing do you recommend for my garment type?
- Are digitizing fees separate, and do they carry over to future orders?
Red flags worth walking away from: no willingness to provide a sample, vague answers about adhesive specs, or no wash-care guidance included with the quote.
One-minute pick: what to choose right now
- Staff polos or permanent branding on one garment type: direct embroidery
- Hats, bags, or badges that need to move between items: patches
- Large or repeat orders across multiple blanks: patches
- Small premium single-item run with fine budget but no reuse need: embroidery
- Mixed programs with several garment types and future reorders: use both, selectively
Event merch and party favours: what actually works
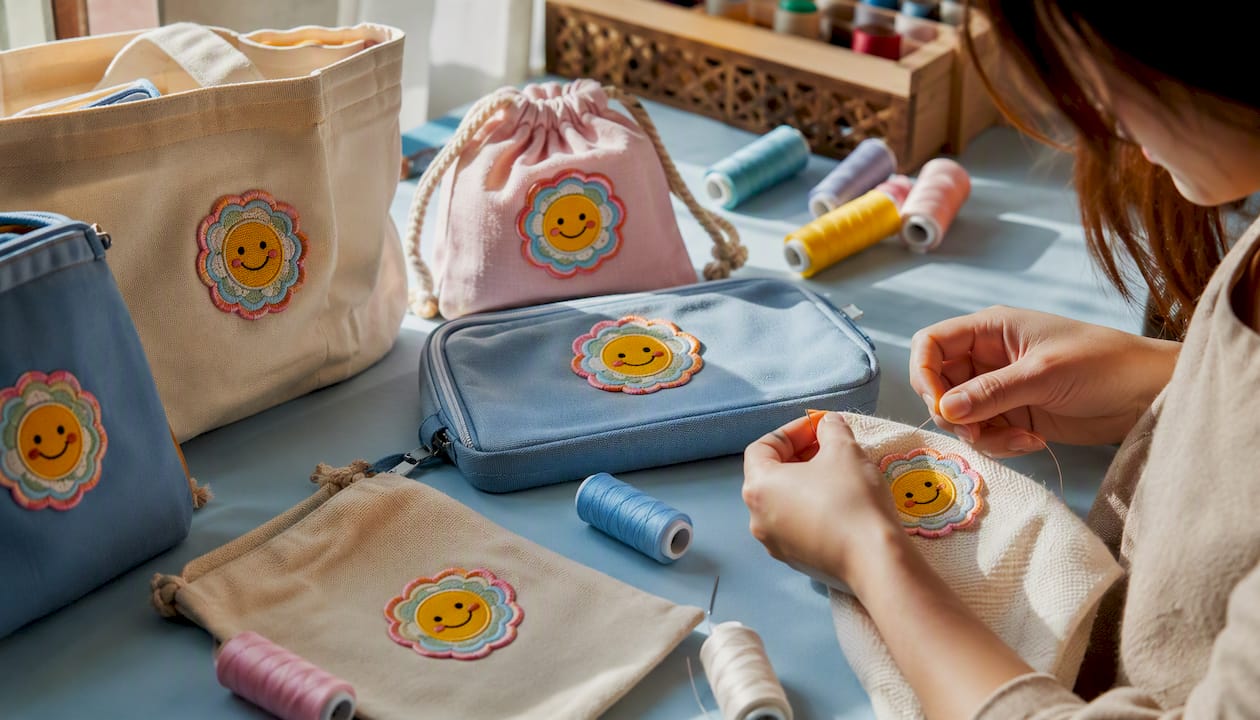
Working with small-batch party and event orders taught a clear lesson: patch-first designs handle unpredictable reorders far better than embroidery does. A themed birthday or corporate giveaway often means the same logo appearing on totes, pouches, and bags in one order. Producing one patch batch and applying it across every blank kept inventory simple and let last-minute size or colour swaps happen without re-digitizing anything.
How LootsByShiry handles patches and embroidery for you
Choosing between patches and embroidery gets a lot easier when you’re not the one digitizing files or chasing minimum order quantities. LootsByShiry builds customizable loot bags and party favours where you pick the names, patches, and colours, and the design work happens on our end, not yours.
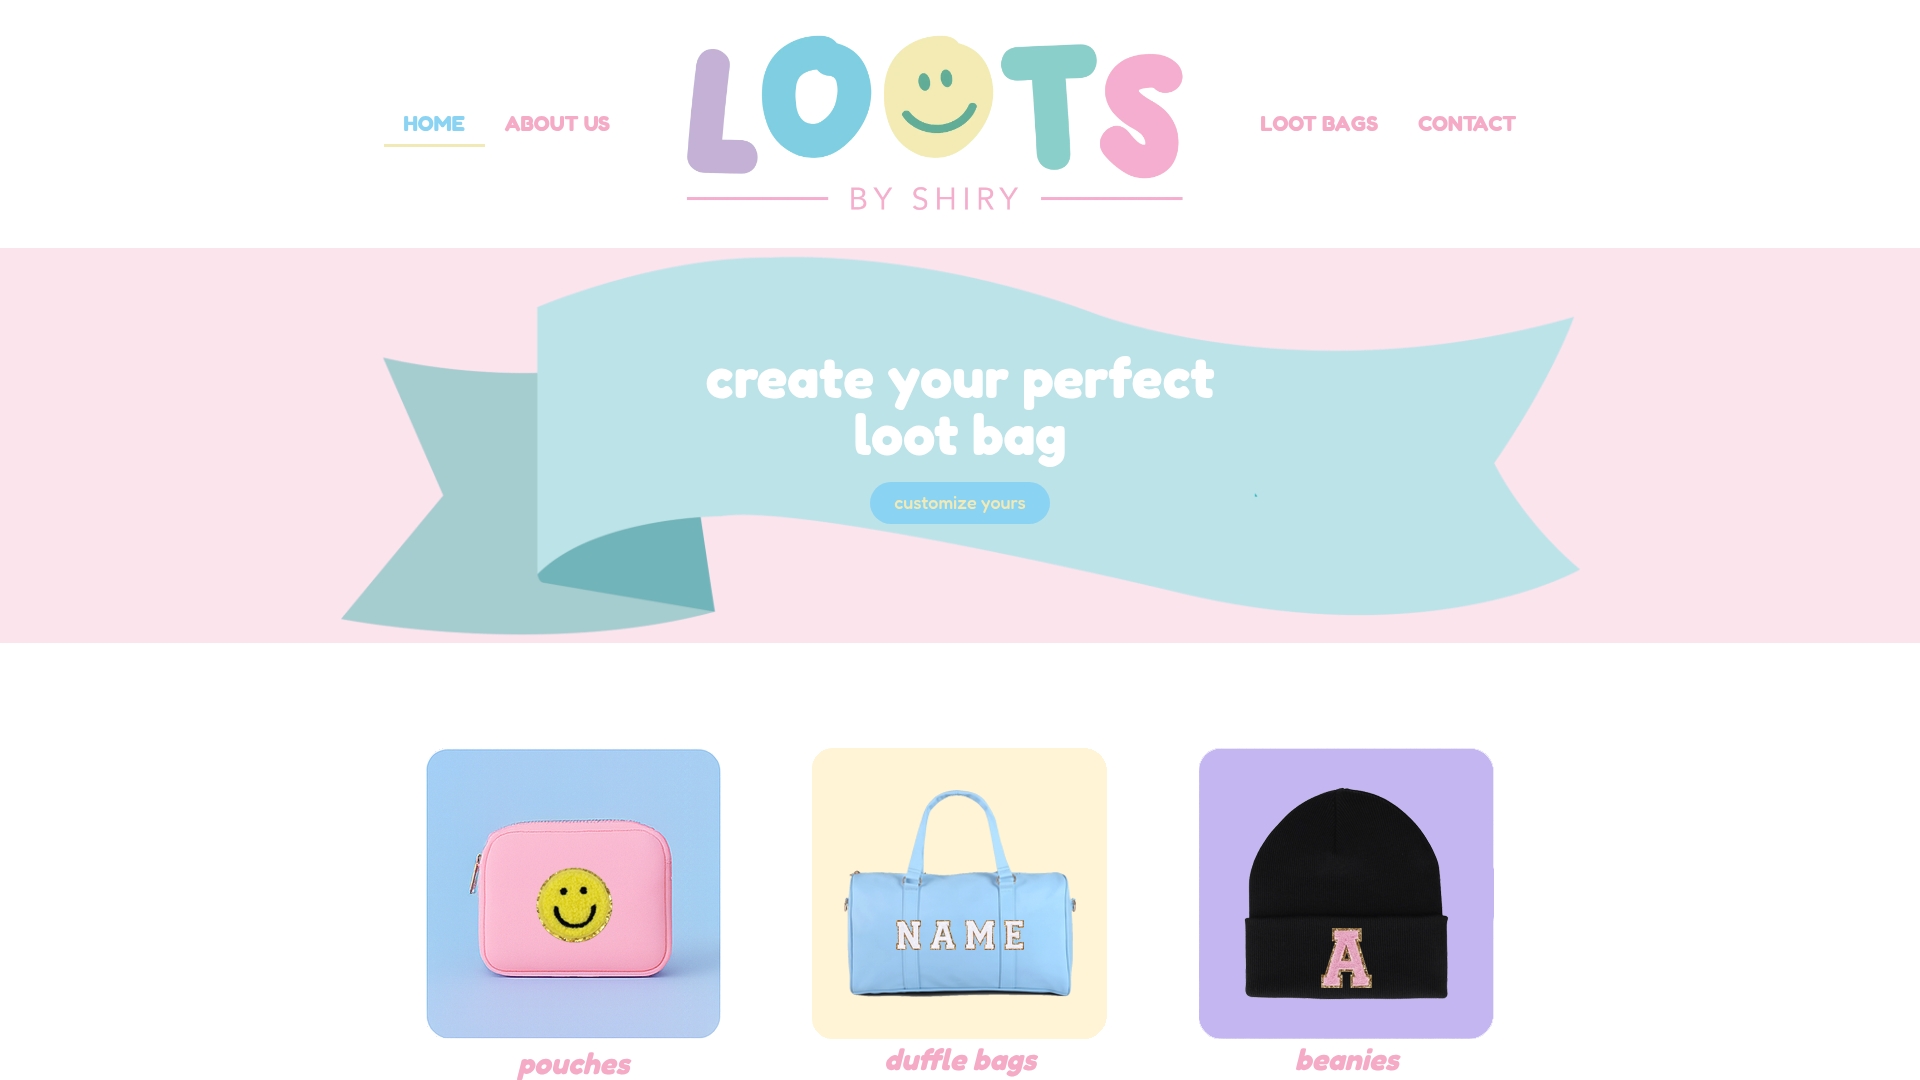
That means no separate quotes from an embroiderer and a patch supplier, no guessing at MOQs, and no waiting weeks to find out your design didn’t digitize cleanly. Whether you need a small run of a dozen personalized pouches for a birthday party or a larger batch of duffle bags for a corporate event, the patch and colour options are built into the ordering flow from the start. If you’re planning your next event and want personalization without the back-and-forth, start browsing the loot bags shop and pick your patches, names, and colours directly at checkout.
Sources
For deeper technical detail beyond this guide, these sources cover the specifics well:
- Direct embroidery vs Patch application
- PVC vs embroidered vs woven patches compared | Owl Badges
- How to make iron-on embroidered patches
- Embroidering over iron-ons: is it possible? — Zealator
FAQ
What are the three main types of patches?
The most common are embroidered, woven, and PVC (or rubber) patches, though chenille and leather patches are also widely used for specific looks like varsity styling or premium accents.
Why are embroidered patches so expensive?
Cost climbs with stitch count, thread colours, and digitizing time, so a detailed, multi-colour design takes longer to produce and uses more thread than a simple logo.
Are embroidered or woven patches better?
Neither is universally better. Woven patches hold finer detail and smaller text, while embroidered patches give a more textured, traditional look that suits bolder designs.
Can you put patches over embroidery, or embroidery over patches?
Yes, embroidering over an existing patch works when you use compatible patch material, the right stabilizer, and a properly sized needle, always testing on scrap fabric first.
Can I order both patches and embroidery from LootsByShiry?
Yes, LootsByShiry’s customizable loot bags let you choose patches, names, and colours at checkout, making it easy to mix decoration methods across an event order.