

For most creatives, sewn appliqué or embroidered patches give the best mix of durability and visual impact, while iron-on and Velcro-backed patches suit anyone who wants to swap designs often. Permanent methods hold up to daily wear and washing; removable options trade some durability for styling flexibility. Start with hand or machine appliqué if you want your patch project to last.
TL;DR:
- Durable sewn appliqué and embroidered patches last through daily wear, while iron-on and Velcro-backed options allow for frequent design changes.
- Selecting the right base fabric, such as canvas or denim, and pre-shrinking materials improve patch longevity and appearance.
- Hand sewing with a herringbone stitch ensures the patch remains secure, especially on high-use bags, while machine appliqué offers a quicker, durable finish.
- Well-planned placement groups patches logically, with focal points on the center or edges, avoiding stress points near hardware or seams.
- Clear layout guidance recommends centering large patches, evenly spacing smaller ones, and reserving flexibility for removable Velcro patches.
Table of Contents
- 1. A shortlist of 12 patch ideas for bags
- 2. Materials and tools to gather
- 3. How to attach patches: methods, pros and cons
- 4. Layout and placement ideas that read well
- 5. Appliqué and patchwork techniques: step essentials
- 6. Author perspective: design decisions and finishing touches
- 7. Loots by Shiry: ready-made, customisable bases for patch projects
- Sources
- FAQ
1. A shortlist of 12 patch ideas for bags
Once you know your approach, the next step is picking a design and matching it to the right surface and attachment method. These twelve ideas cover the range from a single bold statement to a full patchwork panel.
- Single statement patch: one large embroidered motif centred on a canvas tote, hand-sewn with a herringbone stitch for a clean, permanent edge.
- Patch cluster: three to five small patches grouped near a strap or corner on denim, machine-appliquéd with a satin stitch finish.
- Full patchwork panel: mixed fabric squares pieced into a front panel, best on a sturdy canvas or duffle base and hand-stitched with English paper piecing for crisp edges.
- Embroidered motif: a flower, animal, or icon in dense thread work, heat-pressed onto smooth nylon, following embroidery-lab heat guidance.
- Name or monogram patch: initials or a first name on a pastel pouch, sewn on with slip stitch so it can be removed later.
- Slogan patch: a short phrase on canvas or poplin, machine-appliquéd for permanence.
- Travel-themed set: flags, landmarks, or route patches grouped along a backpack strap, mixed sew-on and iron-on depending on placement.
- Floral collage: layered fabric flowers appliquéd by hand onto a tote flap using raw-edge appliqué.
- Upcycled fabric squares: leftover denim or shirting pieced into a patchwork strip along a bag’s base seam.
- Geometric appliqué: triangles or hexagons in contrasting fabric, fused with fusible web and finished with zigzag stitching.
- Removable Velcro set: interchangeable patches on a nylon backpack panel fitted with a Velcro receptive backing.
- Edge trim band: a strip of small patches running along a bag’s top edge or handle, best hand-sewn for control on curved seams.
2. Materials and tools to gather
The right base fabric changes how well a patch sits and lasts. Canvas and denim hold stitches firmly and resist fraying, while poplin offers a smoother, lighter option for smaller motifs.
- Base fabrics: canvas, denim, and poplin all suit patchwork; tighter weaves reduce puckering during machine appliqué.
- Stabilizers: tear-away, cut-away, and mesh stabilizers each reduce distortion depending on fabric weight.
- Adhesives: fusible interfacing and fusible web hold pieces in place before stitching.
- Sewing supplies: all-purpose thread, a sharp hand needle or size 80/12 machine needle, fabric scissors, a rotary cutter, and an iron for pressing seams flat.
- Fabric glue: useful for temporary placement before stitching, never as a standalone permanent fix on high-wear bags.
Preshrink fabrics before cutting, test stitch tension on a scrap piece, and choose smooth surfaces for detailed embroidery, saving textured fabrics like corduroy for simpler shapes.
3. How to attach patches: methods, pros and cons
Each attachment method fits a different kind of project, and picking the wrong one is the most common reason patches peel or pucker.
- Hand-sewing: use a herringbone stitch to secure raw edges on high-use bags, stitching through the existing weave rather than piercing yarns directly, a technique recommended for durable hand-stitched textile work. A slip stitch works better when you want the patch removable later.
- Machine appliqué: fuse the patch with fusible web, tack it in place, then finish the edge with a zigzag or satin stitch; stabilizer underneath prevents puckering, following machine appliqué guidance.
- Iron-on adhesive: follow the heat and pressing durations published for embroidery patch application; iron-on often fails on textured or curved surfaces where heat cannot reach evenly.
- Velcro-backed patches: install a receptive backing panel for swap-friendly styling, ideal for kids’ bags or seasonal themes.
Pro Tip: Reserve iron-on for flat, smooth panels and switch to hand-sewing on curved seams or textured fabric where heat cannot press evenly.
Choose permanence for bags you plan to keep as-is, and flexibility for anything you expect to update.
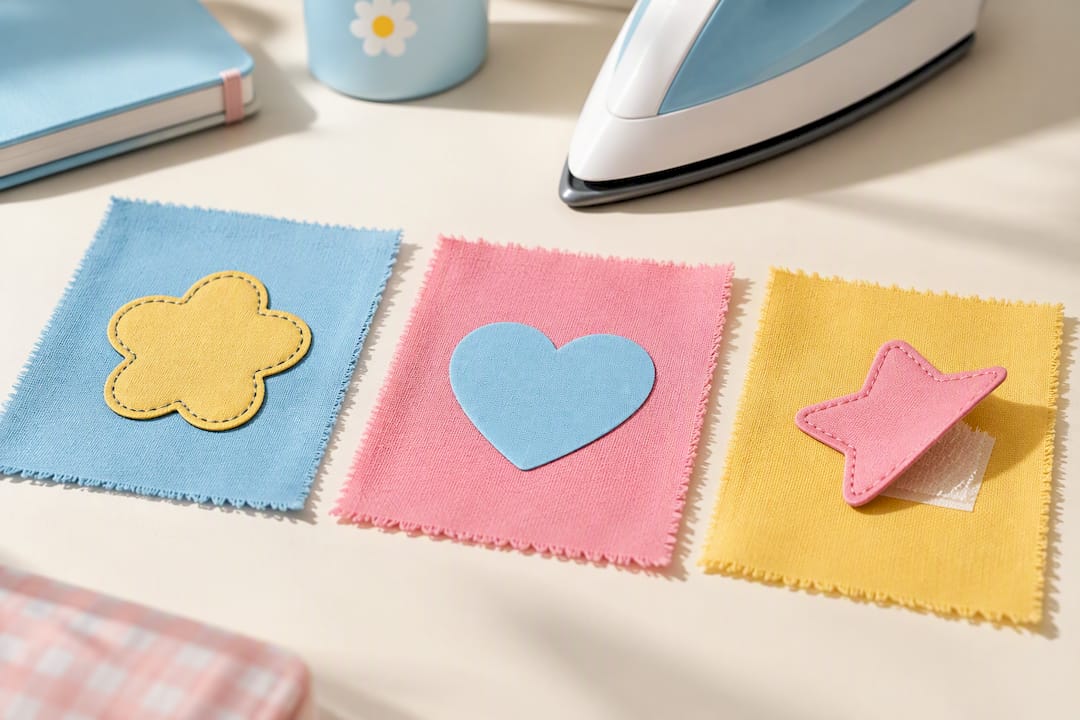
4. Layout and placement ideas that read well
Good placement makes a patch collection look planned rather than scattered. A single large patch centred on a flap or front panel reads as a focal point, while smaller patches need grouping to avoid looking random.
- Focal placement: one patch, roughly a third of the panel’s width, centred or slightly off-centre.
- Cluster or grid layout: keep spacing even, around one patch-width apart, and match scale so no single piece overwhelms the group.
- Edge trims: a row of small patches along a strap or top edge works well on bags with flat, accessible seams.
- Full-panel patchwork: repeat a shape or colour rhythm across the whole panel for symmetry rather than random placement.
- Avoid hardware and stress points: keep patches clear of zippers, buckles, and seams that flex often, since repeated movement loosens stitching over time.
5. Appliqué and patchwork techniques: step essentials
Preshrink your fabric, trace the design, apply fusible web, and choose a stabilizer suited to the base weight before you sew a stitch, steps that consistently prevent puckering according to appliqué best practices.
- Machine sequence: fuse, tack, then finish with a zigzag or satin stitch; backstitch at the start and end of any hand-guided seam.
- Hand techniques: raw-edge appliqué suits quick projects, needle-turn gives cleaner curves, and English paper piecing produces sharp points for geometric patchwork panels.
- Finishing: trim excess backing close to the stitch line and reduce bulk at overlapping seams so the bag lies flat.
- Care: store patched bags flat with acid-free tissue rather than in sealed plastic, guidance drawn from basic textile care that helps patches and stitching last.
A well-finished satin stitch edge resists fraying far longer than a raw, unstitched border, which is why finishing the edge matters as much as the placement itself.
6. Author perspective: design decisions and finishing touches
I keep colour palettes to three tones at most when mixing several patches, since more than that starts to look cluttered rather than curated. Scale matters just as much: one large anchor patch paired with two or three smaller ones reads cleaner than a dozen equal-sized pieces. I reach for Velcro only when a patch needs to change with the season or the owner’s mood; everything meant to stay permanent gets a satin-stitched edge. My favourite quick fix is a narrow zigzag run along a fraying edge before it gets worse.
— Shiry
7. Loots by Shiry: ready-made, customisable bases for patch projects
If you would rather start with a bag built for personalization, Loots by Shiry offers cotton tote bags, pastel pouches, and loot bags as ready fabric bases suited to appliqué and embroidered patches.

The cotton tote bags give a smooth, washable canvas surface that holds stitching well, while the pastel pouches suit smaller monogram or motif patches. The service lets customers choose names, patches, and colours before the bag ships, so they start with a personalized canvas rather than a blank one. Browse the shop or check the loot bags page for custom event orders.
Sources
- Canada
- Sewing machine appliqué | New Mexico State University
- Embroidery patch-making tips – School of Art & Design
- Canada
FAQ
What are some creative patch design ideas?
Popular ideas include a single statement patch centred on a tote, a cluster of small patches near a strap, a full patchwork panel, and travel-themed or floral collage sets. Mixing embroidered motifs with a monogram patch adds a personal touch without overwhelming the bag.
How do you attach patches to bags?
The main methods are hand-sewing with a herringbone or slip stitch, machine appliqué finished with a zigzag or satin stitch, iron-on adhesive, and Velcro-backed patches. Hand and machine sewing offer the most durable results, while iron-on and Velcro suit quick or removable styling.
What are some cool things to put patches on?
Canvas totes, denim backpacks, nylon duffle bags, and small pouches all take patches well. A duffle bag with a flat front panel is especially good for larger patchwork designs or edge trims along the strap.
What are some creative ways to decorate my bag?
Beyond patches, try edge trims, monogrammed patchwork panels, or a mix of permanent and Velcro-backed pieces for a design you can update. Grouping patches by theme, like travel or florals, keeps the layout looking intentional rather than random.