Six methods cover nearly every event scenario: embroidery, heat transfer vinyl (HTV), sublimation, patches or woven labels, iron-on letters, and knit-in designs. Each one has a different cost shape, durability ceiling, and production requirement, so the right pick depends on your timeline, budget, and what the beanie needs to look like after twenty washes.
For most event organisers, here is the fast version:
- Embroidery — best when durability and a premium feel matter most; survives repeated washing and looks sharp on acrylic or fleece.
- HTV — practical for small runs (under 50 units) with bold text or simple one-colour graphics; fast turnaround with a heat press.
- Sublimation — full-colour, photo-quality prints that are permanent, but only on polyester beanies.
- Patches or woven labels — ideal for intricate logos or fine text that embroidery cannot cleanly reproduce at small sizes.
- Iron-on letters or felt — the lowest-cost, no-equipment option for casual favours; durability is limited.
- Knit-in designs — permanent and seamless, but requires custom manufacturing lead time and higher minimum orders.
LootsByShiry supports custom beanies with name, patch, and colour options, making it a practical vendor path for event organisers who want coordinated favours without managing production themselves.
Key takeaways
Matching the personalisation method to the artwork and fabric type — before committing to a supplier — is the single decision that prevents most production problems with custom beanies.
| Point | Details |
|---|---|
| Match method to artwork first | Gradients and full colour need sublimation or DTF; clean lines suit embroidery or patches. |
| Fabric determines sublimation eligibility | Sublimation requires at least 65% polyester — confirm fibre content before ordering blanks. |
| Rotate designs for cuffed beanies | Stitch or press designs 180° rotated so they read correctly once the cuff folds up. |
| Build proof time into your schedule | Allow 3–5 extra business days for sample review and rework before your event date. |
| LootsByShiry for low-MOQ custom orders | Supports name, patch, and colour personalisation on beanies with coordinated favour options. |
Table of Contents
- What are the best beanie personalization options for events?
- Which beanie fabrics and placements work best?
- How should event organisers choose a method?
- Step-by-step DIY recipes for common methods
- How long does each method last through washing?
- What most advice on beanie personalization gets wrong
- LootsByShiry: custom beanies for events, without the production headache
- Sources
- FAQ
What are the best beanie personalization options for events?
Each method earns its place in a different scenario. The table below maps the six main approaches across the dimensions event planners actually care about.
| Method | Best for | Visual finish | Durability / washability | Cost per unit (DIY vs small-batch) | Min order / scale | Typical lead time | Equipment / skill needed |
|---|---|---|---|---|---|---|---|
| Embroidery | Premium gifts, corporate events | Textured, raised, professional | Very high — machine wash gentle, air dry | DIY: digitizing fee + time; small-batch: moderate-high per unit | Minimum order quantities can be low with some vendors | One to two weeks | Embroidery machine or vendor |
| HTV | Small runs, bold text, fast favours | Flat, smooth, vivid | Medium — cold wash inside-out, low heat dry | DIY: low material cost; small-batch: low-moderate | No minimum DIY; vendors often 12 units | Several days to a week | Heat press or iron, pressing pillow |
| Sublimation | Full-colour imagery on polyester | Photo-quality, seamless | Very high on polyester — colours are permanent | DIY: moderate (sublimation printer needed); small-batch: moderate | Polyester blanks required | About one week | Sublimation printer, heat press |
| Patches / woven labels | Intricate logos, fine text | Dimensional, detailed | High when sewn; medium when heat-sealed | DIY: patch cost + sewing time; small-batch: moderate | Patch MOQs vary (often 50+) | About two to three weeks for custom patches | Sewing machine or iron |
| Iron-on letters / felt | Casual favours, last-minute | Flat, craft-style | Low — hand-wash or spot-clean only | Very low — craft store materials | No minimum | 1–2 days | Iron, scissors |
| Knit-in designs | Permanent branding, large runs | Seamless, integrated | Highest — part of the fabric | High setup cost; lower per unit at scale | High | Several weeks | Custom manufacturer |
A few quick picks worth flagging:
- Choose knit-in only when you have the lead time and volume to justify it — it is the only method where the design cannot be removed or altered after production.
- Choose HTV when you need beanies in under a week and bold, simple graphics are acceptable. HeatPressNation confirms that thick fonts and simple shapes press cleanly onto acrylic and polyester beanies with a pressing pillow.
- For logos with fine detail or small text, woven patches outperform embroidery at small stitch counts, as JoinTop’s method comparison notes.
Which beanie fabrics and placements work best?
Fabric choice is not just an aesthetic decision — it determines which methods are even possible.
Acrylic knit is the most common beanie material and works with embroidery, HTV, and patches. Polyester is the only fabric that produces true sublimation results. Fleece takes embroidery and HTV well but can be tricky to hoop without distortion. Cotton and wool blends work with embroidery and patches but resist HTV adhesion and are incompatible with sublimation.
Placement shapes the whole design brief. The cuff is the most visible area when the beanie is worn, making it the default choice for names, logos, and short text. The crown suits larger graphic elements or all-over designs. One detail that catches people off guard: on a cuffed beanie, the design area folds over, so anything stitched or pressed in the standard orientation will read upside-down when the cuff is up.
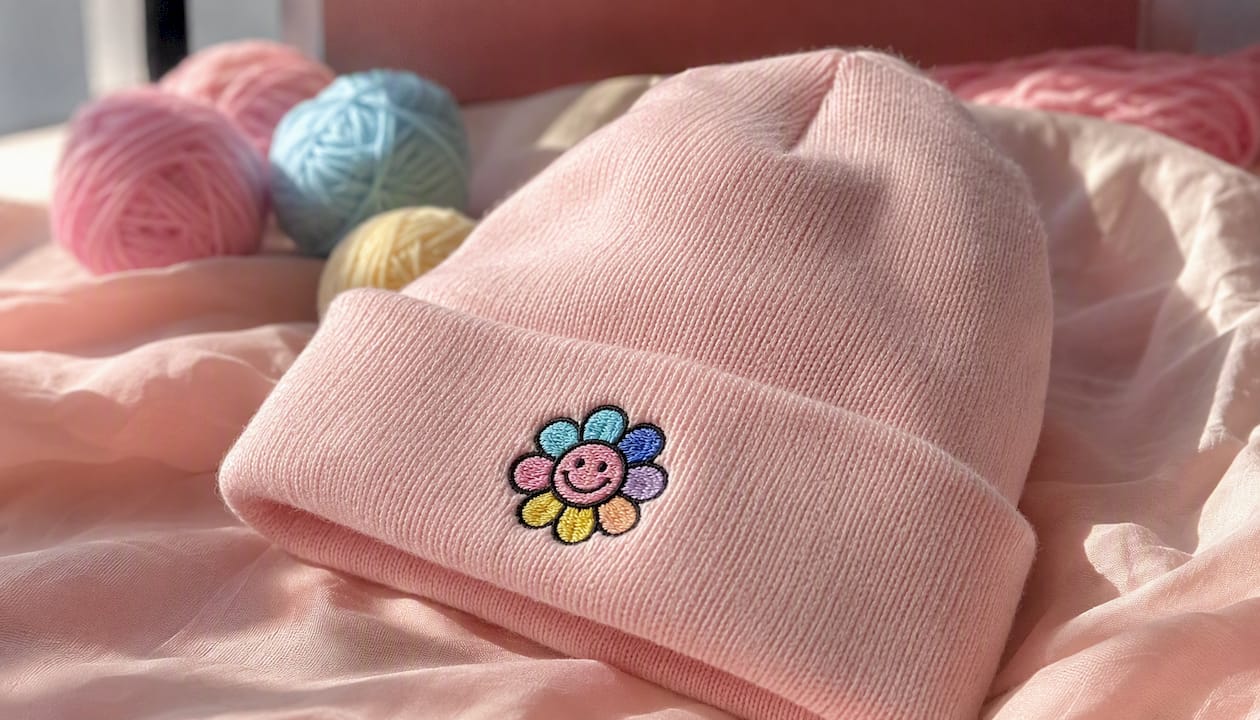
Pro Tip: Rotate your embroidery design 180° before stitching on a cuffed beanie so the text or logo reads correctly once the cuff is folded up. Fuse a poly mesh stabiliser to the back of the knit before hooping to reduce puckering.
Stabiliser choices by method:
- Adhesive-backed tearaway — holds the knit fabric in place during embroidery without a traditional hoop; tears away cleanly after stitching.
- Fusible poly mesh — fused to the back of the cuff area before hooping; reduces stretch and prevents the knit from distorting under the needle.
- Water-soluble stabiliser — layered on top of the knit to keep stitches from sinking into the loops; dissolves in water after embroidery is complete.
For HTV and sublimation, a pressing pillow or foam insert placed inside the beanie creates a flat, firm surface so the heat plate makes even contact without the fabric folding or creasing during pressing.
How should event organisers choose a method?
Start with the event goal, then work backward through constraints.
- Define the look. Is this a branded corporate giveaway (embroidery or woven patch), a fun birthday favour (HTV or iron-on), or a premium winter gift (embroidery or sublimation on polyester)?
- Check your fabric. Sublimation requires polyester. Confirm fibre content before ordering blanks.
- Set a realistic budget per unit. Embroidery digitizing adds a one-time setup cost; HTV material is cheap but labour-intensive at scale.
- Lock in your timeline. Custom patches can take 3 weeks. HTV can be done in days.
- Confirm minimum order quantities. Some embroidery vendors accept as few as 12 units; custom patch suppliers often require 50 or more.
Rough cost and lead-time estimates for planning purposes (figures are general industry guidance, not guaranteed quotes):
| Mid batch (around 50 to 500 units) | costs per unit decrease for HTV at scale; embroidery or patch vendor prices are moderate; lead time ranges from one to three weeks
|
Pro Tip: Always request a physical sample or digital proof before approving a full run. Diehard Custom recommends building sample review time into your schedule — add at least 3–5 business days for proof turnaround and potential rework before your event date.
When contacting a supplier, ask: preferred file format (vector .AI or .EPS for embroidery and patches; high-resolution PNG for HTV and sublimation), minimum DPI for print files (300 DPI minimum), safe area dimensions for the cuff, sample policy, MOQ, and shipping lead time to your location.
Step-by-step DIY recipes for common methods
Embroidery
- Fuse poly mesh to the back of the cuff area, then hoop with adhesive tearaway beneath the knit.
- Layer water-soluble stabiliser on top to prevent stitches from sinking into loops.
- Rotate the design 180° in your software if stitching on a cuffed beanie.
- Use a lower stitch density than you would on woven fabric to avoid puckering.
- SewDaily notes that mirroring and duplicating small motif elements helps fill the beanie’s curved surface naturally.
HTV
- Measure the cuff width and height; scale your graphic to fit with at least 1 cm of clearance on each side.
- Choose thick fonts and bold, simple shapes — fine lines lift at the edges after washing.
- Place a pressing pillow or foam insert inside the beanie to create a flat pressing surface.
- Press at the temperature and time specified for your HTV brand (typically 305°F / 150°C for 10–15 seconds); peel according to the liner type (hot or cold peel).
- HeatPressNation advises using heat-resistant tape to hold smaller transfers in place before pressing.
Sublimation
- Confirm the beanie is at least 65% polyester — lower polyester content produces washed-out colours.
- Print the design mirrored on sublimation paper using a sublimation printer.
- Secure the transfer to the beanie with heat tape; place parchment paper over and under to prevent dye migration onto the press platen.
- Insert a pressing pillow for even contact; press at approximately 385°F / 195°C for 45–60 seconds.
- The Laughing Giraffe® recommends this parchment-and-pillow setup as the most reliable way to get consistent colour saturation.
Iron-on letters and felt
- Arrange letters on the beanie cuff before ironing to confirm spacing.
- Press firmly with a dry iron on medium heat for 10–15 seconds per letter.
- Allow to cool completely before handling; avoid stretching the fabric immediately after application.
Patches and woven labels
- For sewn patches: pin in place, then stitch around the perimeter with a matching thread using a sewing machine or by hand.
- For heat-seal patches: press with an iron or heat press at medium-high heat for 20–30 seconds; sewing the perimeter afterward significantly extends durability.
- Woven labels with fine text are the better choice when your logo has small lettering that embroidery cannot cleanly reproduce.
How long does each method last through washing?
Durability varies more than most planners expect, and setting the wrong expectation with recipients leads to disappointment after the first few washes.
- Embroidery — the most durable option. Machine wash on a gentle cycle in cold water and air dry; Machine Embroidery Geek confirms it holds up through repeated washing when stabilisers are used correctly. Common failure mode: puckering if the stabiliser was insufficient during production.
- HTV and DTF transfers — medium durability. Wash cold, inside-out, on a gentle cycle; tumble dry on low or air dry. Peeling at edges is the most common failure, usually caused by insufficient press time or temperature, or by choosing a fine-line design that did not adhere fully.
- Sublimation — very durable on polyester; the dye bonds with the fibre rather than sitting on top, so colours do not crack or peel. On blended fabrics, colour fades faster. Dye migration (colour bleeding into adjacent fabric areas) during pressing is the main production risk, not a washing risk.
- Iron-on letters and felt — lowest durability. Hand-wash or spot-clean only; heat and agitation loosen the adhesive. Expect these to last a season of light use at best.
- Sewn patches — high durability when stitched around the full perimeter; heat-sealed-only patches peel with repeated washing and should be reinforced with stitching for anything meant to last.
What most advice on beanie personalization gets wrong
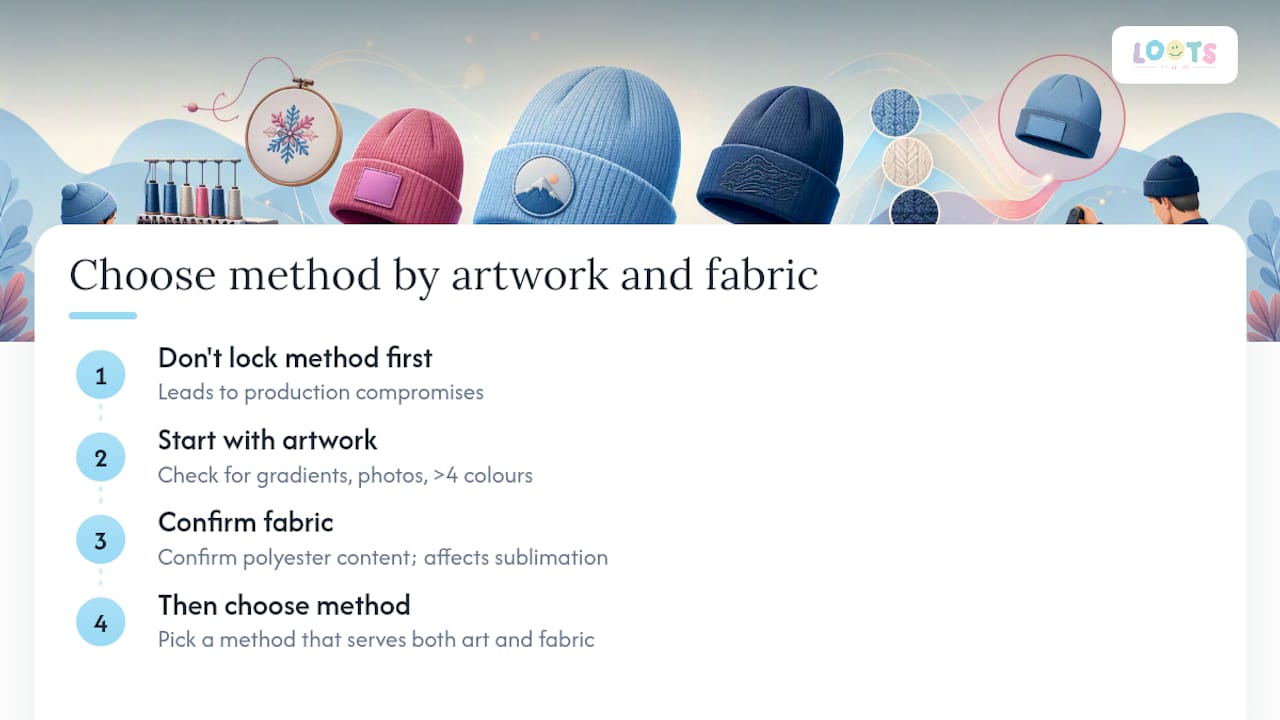
The standard recommendation is to pick embroidery for quality and HTV for speed, and that framing is not wrong — it just stops too early. The real decision is about the design file, not the method.
A logo with gradient shading, photographic detail, or more than four colours will look flat and disappointing in embroidery, no matter how skilled the digitizer. The same logo printed via sublimation on a polyester beanie looks exactly as intended. Conversely, a clean two-colour wordmark that would take 20 minutes to embroider becomes a production headache in sublimation if you cannot confirm the fabric content of your blanks.
Most planners lock in a method first and then try to adapt the artwork. The smarter sequence is the reverse: start with the artwork and the fabric, then choose the method that serves both. That single shift eliminates most of the common mistakes — puckering, peeling, washed-out sublimation — before production even starts.
LootsByShiry: custom beanies for events, without the production headache
Organising personalised beanies for an event means managing artwork files, supplier minimums, proofing rounds, and shipping windows — all while coordinating everything else on the event checklist. LootsByShiry handles the production side so you do not have to.
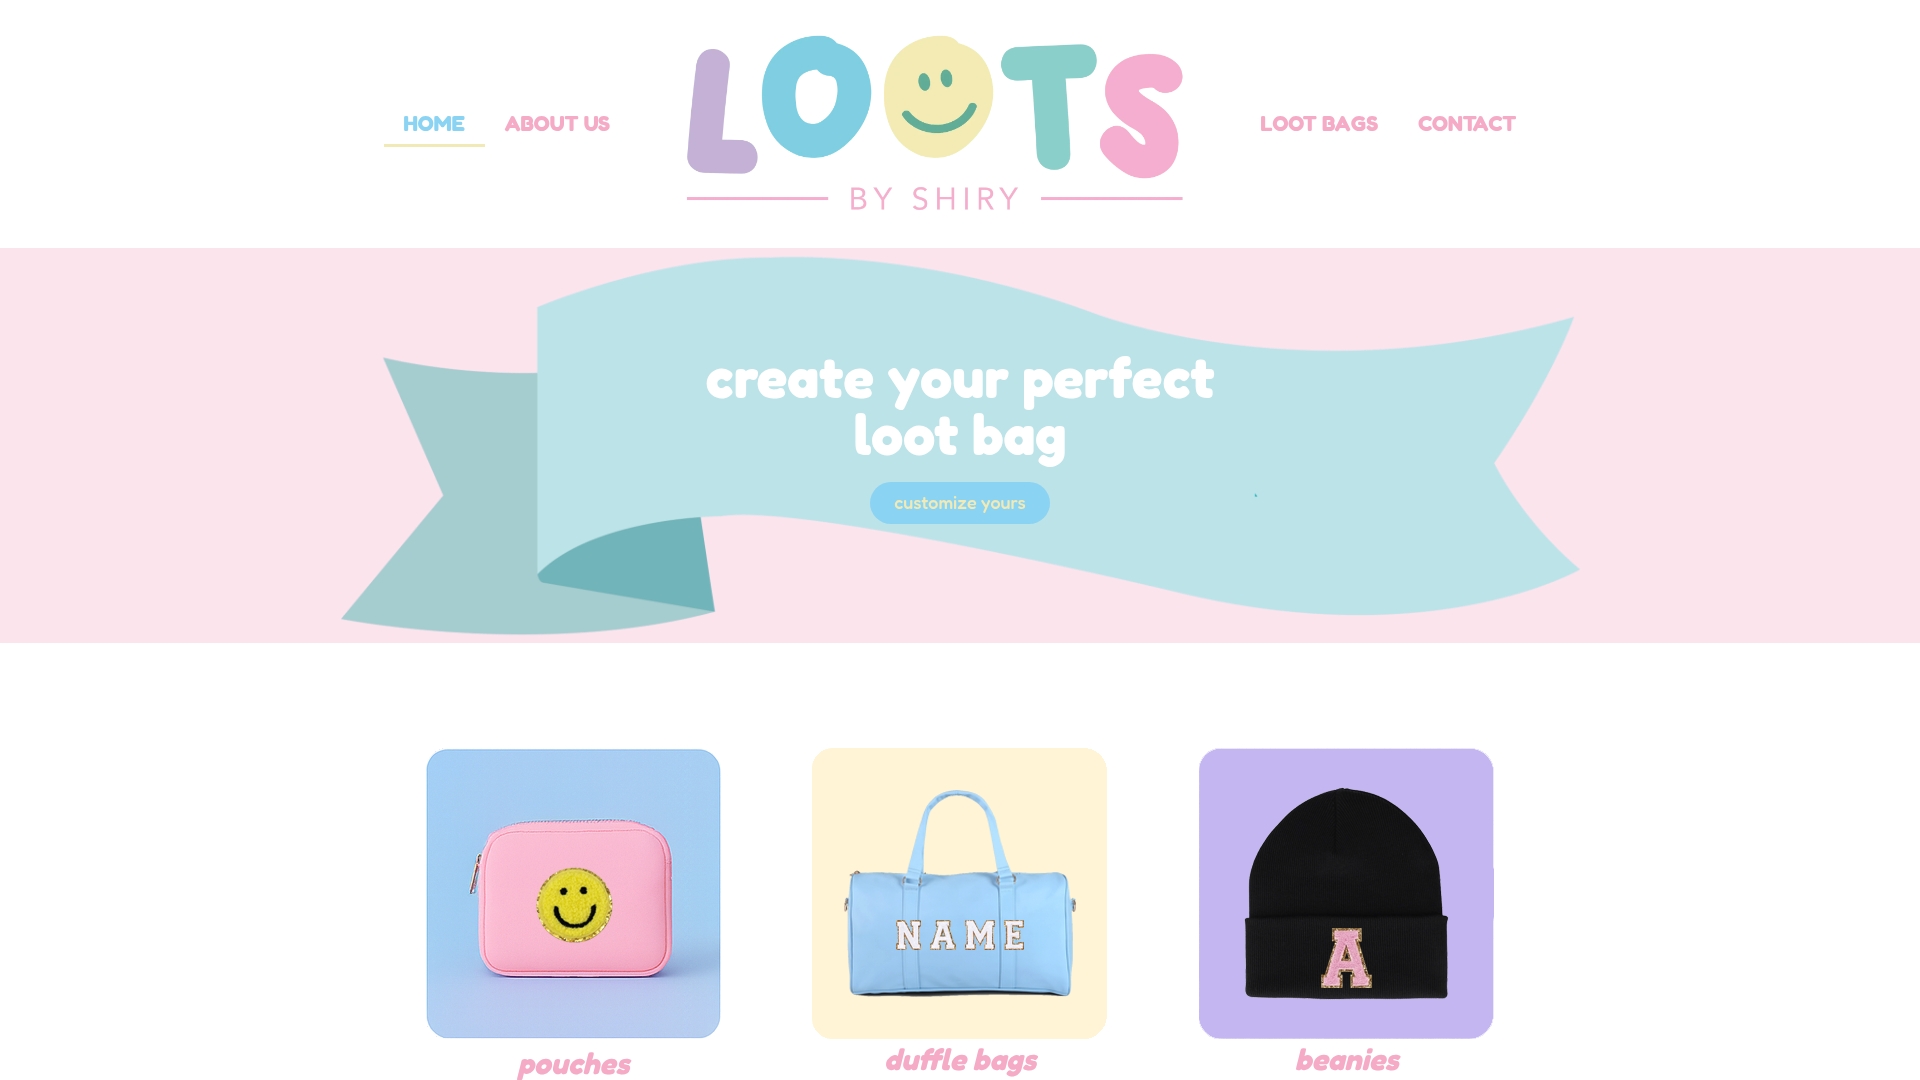
LootsByShiry’s custom beanie and loot bag options support name personalisation, patch additions, and colour choices — the three variables that make a favour feel genuinely individual rather than generic. Minimum order quantities are kept low, which suits birthday parties and mid-size corporate events where ordering 500 identical items is not realistic. You can pair beanies with coordinated loot bags or cotton tote bags for a cohesive favour set. When you reach out, ask about the sample policy, turnaround for your unit count, accepted file formats, and available patch styles. Browse the full personalised party favour range to see current options and start your order.
Sources
- How to embroider on a beanie – Machine Embroidery Geek
- How To Personalize Beanies – HeatPressNation
- How to personalize a baby beanie hat – The Laughing Giraffe®
- Cozy custom: how to embroider your own knit beanie – SewDaily
FAQ
What is the most durable beanie personalization method?
Embroidery is the most durable option for everyday wear and repeated washing, provided the correct stabilisers were used during production. Sublimation is equally permanent on polyester but is limited to that fabric type.
Can you use HTV on any beanie?
HTV adheres best to acrylic and polyester beanies with a smooth surface. Heavily textured or loosely knit fabrics make it harder to get full adhesion, and fine-line designs tend to peel at the edges after washing.
What file format should I send a supplier for custom beanies?
Vector files (.AI or .EPS) are preferred for embroidery and patch orders. For HTV and sublimation, a high-resolution PNG at 300 DPI or higher works well. Always confirm the supplier’s safe area dimensions for the cuff before finalising artwork.
Does LootsByShiry accept small orders for event beanies?
LootsByShiry offers low minimum order quantities on custom beanies and coordinated favours, making it practical for birthday parties and smaller corporate events. Contact them directly to confirm current MOQs and turnaround times for your unit count.
How do I prevent embroidery from puckering on a knit beanie?
Fuse a poly mesh stabiliser to the back of the knit before hooping, and layer water-soluble stabiliser on top of the fabric during stitching. Reducing stitch density compared to woven fabric also helps prevent the knit from bunching under the needle.